원본출처: 티스토리 바로가기
이 글은 이전 포스팅에서 연속됩니다.
https://billcorea.tistory.com/238
안드로이드 앱 만들기 : navigation 을 편리하게 ? (두번째 이야기)
https://flatteredwithflutter.com/using-compose-destinations%ef%bf%bc/ Using compose destinations We will cover briefly: Current navigation in composeUsing compose destinations(Optional) Modify exi..
billcorea.tistory.com
이전 글에서 작성했던 navigation 은 그저 화면의 이동에 중점을 두었습니다. 그러다 보니, 화면 하단에 메뉴를 달고 그 메뉴는 항상 표시가 되어야 했지만, 그렇지 못했습니다 그래서 이번에는 꼭 하단 메뉴는 그대로 두고 content 내용만 변경되는 모양으로 만들어 보기로 했습니다.
다시 원작자가 작성한 코드를 살펴보면서 따라 하기를 해 보았습니다. 먼저 참조할 소스 코드의 github 링크는 아래와 같습니다.
https://github.com/raamcosta/compose-destinations
GitHub - raamcosta/compose-destinations: Annotation processing library for type-safe Jetpack Compose navigation with no boilerpl
Annotation processing library for type-safe Jetpack Compose navigation with no boilerplate. - GitHub - raamcosta/compose-destinations: Annotation processing library for type-safe Jetpack Compose na...
github.com
여기에서 참조되는 코드를 이용해서 내가 작성할 코드를 작성해 보았습니다.
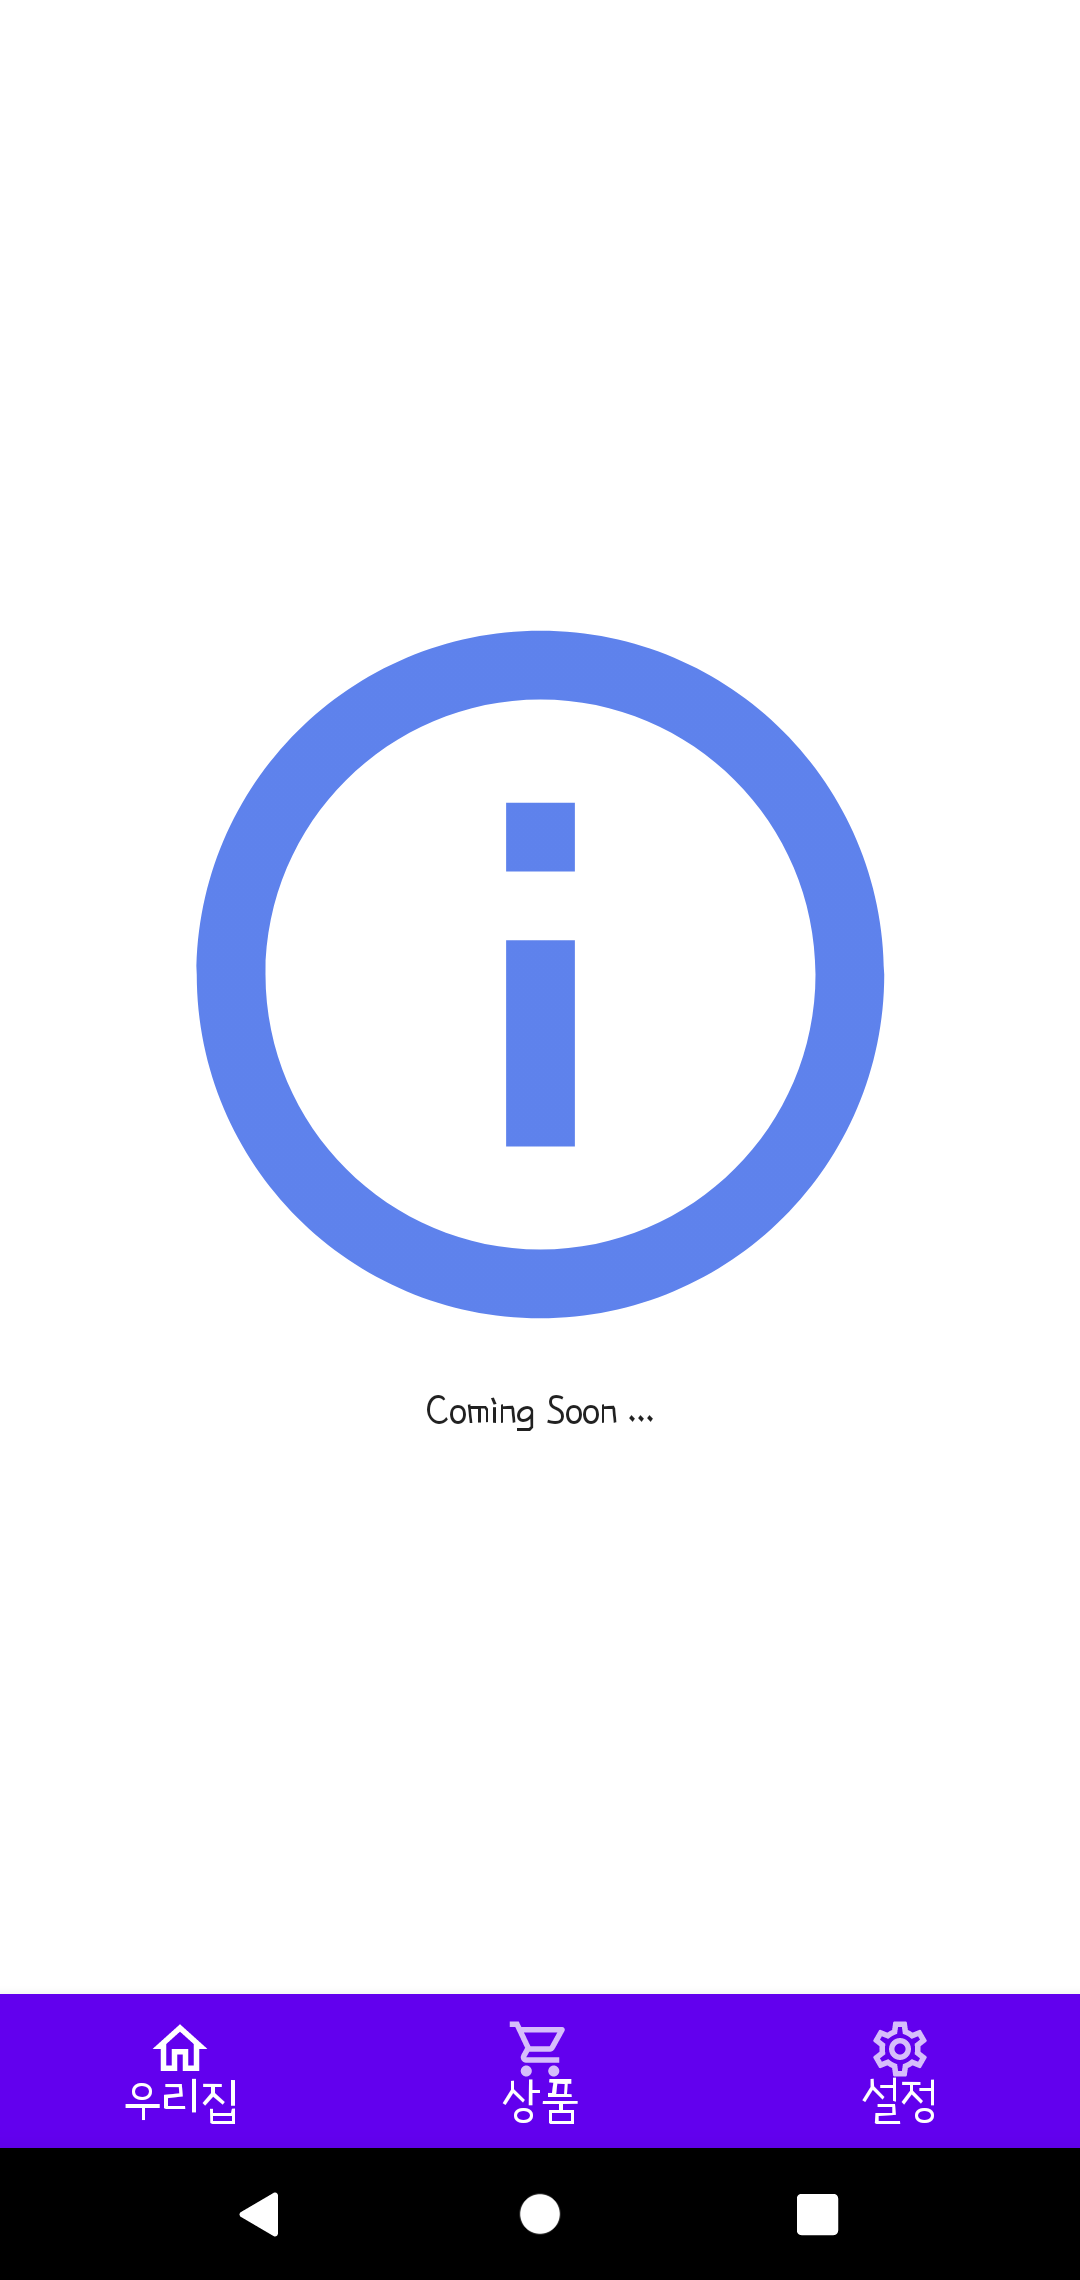
Bottombar
이 코드는 화면 하단에 보여줄 bottom menu 항목을 정하고, 그것들을 보여주는 작성을 합니다.
사용할 단위 화면을 먼저 작성해 두고 이전 포스팅에서 설명한 바와 같이./gradlew clean build 명령어를 이용하여 기본 컴파일은 진행되어야 합니다.
아래 코드에서 BottombarItem으로 선언된 Home, ProductItem, Setting 등이 그 예시입니다.
import androidx.annotation.StringRes import androidx.compose.material.BottomNavigation import androidx.compose.material.BottomNavigationItem import androidx.compose.material.Icon import androidx.compose.material.Text import androidx.compose.material.icons.Icons import androidx.compose.material.icons.outlined.* import androidx.compose.runtime.Composable import androidx.compose.runtime.getValue import androidx.compose.ui.graphics.Color import androidx.compose.ui.graphics.vector.ImageVector import androidx.compose.ui.res.stringResource import androidx.compose.ui.text.TextStyle import androidx.compose.ui.text.font.FontWeight import androidx.compose.ui.unit.sp import androidx.navigation.NavHostController import androidx.navigation.compose.currentBackStackEntryAsState import com.billcoreatech.bespeak1003.R import com.billcoreatech.bespeak1003.ui.theme.fonts import com.billcoreatech.bespeak1003.ui.theme.softBlue import com.billcoreatech.bespeak1003.widget.NavGraphs import com.billcoreatech.bespeak1003.widget.destinations.DirectionDestination import com.billcoreatech.bespeak1003.widget.destinations.HomeScreenDestination import com.billcoreatech.bespeak1003.widget.destinations.ManagerScreenDestination import com.billcoreatech.bespeak1003.widget.destinations.ProductItemScreenDestination import com.ramcosta.composedestinations.navigation.navigate import com.ramcosta.composedestinations.navigation.popBackStack import com.ramcosta.composedestinations.navigation.popUpTo import com.ramcosta.composedestinations.utils.isRouteOnBackStack @Composable fun BottomBar( navController: NavHostController ) { BottomNavigation { BottomBarItem.values().forEach { destination -> val navBackStackEntry by navController.currentBackStackEntryAsState() val currentRoute = navBackStackEntry?.destination?.route BottomNavigationItem( alwaysShowLabel = true, selected = currentRoute == destination.direction.route , onClick = { navController.navigate(destination.direction) { popUpTo(NavGraphs.root) { saveState = true } launchSingleTop = true restoreState = true } }, icon = { Icon( destination.icon, contentDescription = stringResource(destination.label) ) }, label = { Text( text = stringResource(destination.label), style = TextStyle( fontFamily = fonts, color = Color.White, fontSize = 18.sp, fontWeight = FontWeight.Normal )) }, ) } } } enum class BottomBarItem( val direction: DirectionDestination, val icon: ImageVector, @StringRes val label: Int ) { Home(HomeScreenDestination, Icons.Outlined.Home, R.string.Home), ProductItem(ProductItemScreenDestination, Icons.Outlined.ShoppingCart, R.string.productItems), Setting(ManagerScreenDestination, Icons.Outlined.Settings, R.string.Setting) }코드를 가져오면서 잠깐의 혼돈은 onClick에 구현된 코드 작성에서 있었습니다. import 처리가 잘 되지 않아서 코드를 직접 입력하면서 해소를 하였습니다.
BespeakScaffold
이 부분은 MainActivity에서 호출한 Scaffold을 변형한 코드입니다. 원작자의 코드에서는 topbar 도 있었지만, 이번에는 사용을 하지 않을 것이기 때문에 제거하고 필요한 부분만 가져왔습니다.
import android.util.Log import androidx.compose.foundation.layout.PaddingValues import androidx.compose.foundation.shape.RoundedCornerShape import androidx.compose.material.Scaffold import androidx.compose.runtime.Composable import androidx.compose.ui.unit.dp import androidx.navigation.NavBackStackEntry import androidx.navigation.NavHostController import androidx.navigation.plusAssign import com.billcoreatech.bespeak1003.widget.appCurrentDestinationAsState import com.billcoreatech.bespeak1003.widget.destinations.Destination import com.billcoreatech.bespeak1003.widget.startAppDestination import com.google.accompanist.navigation.material.ExperimentalMaterialNavigationApi import com.google.accompanist.navigation.material.ModalBottomSheetLayout import com.google.accompanist.navigation.material.rememberBottomSheetNavigator import com.ramcosta.composedestinations.spec.Route @OptIn(ExperimentalMaterialNavigationApi::class) @Composable fun BespeakScaffold( startRoute: Route, navController: NavHostController, bottomBar: @Composable (Destination) -> Unit, content: @Composable (PaddingValues) -> Unit, ) { val destination = navController.appCurrentDestinationAsState().value ?: startRoute.startAppDestination // 👇 디버깅을 위해서만 주석에 의해 제한되기 때문에 backQueue API를 사용해서는 안됩니다. navController.backQueue.print() val bottomSheetNavigator = rememberBottomSheetNavigator() navController.navigatorProvider += bottomSheetNavigator // 👇 ModalBottomSheetLayout은 일부 대상이 하단 시트 스타일인 경우에만 필요합니다. ModalBottomSheetLayout( bottomSheetNavigator = bottomSheetNavigator, sheetShape = RoundedCornerShape(16.dp) ) { Scaffold( bottomBar = { bottomBar(destination) }, content = content ) } } private fun ArrayDeque<NavBackStackEntry>.print(prefix: String = "stack") { val stack = map { it.destination.route }.toTypedArray().contentToString() Log.e("ArrayDeque","$prefix = $stack") }
MainActivity
MainActivity는 setContent 부분만 기술했습니다. 다른 부분들은 이번 포스팅과 연관이 없기 때문에요. 위에서 작성한 BespeakScaffold을 호출하고, DestinationNavHost 코드만 기술하는 것으로 해서 코드 작업은 마무리되었습니다.
setContent { val engine = rememberAnimatedNavHostEngine() val navController = engine.rememberNavController() val startRoute = NavGraphs.root.startRoute Bespeak1003Theme(darkTheme = isSystemInDarkTheme()) { BespeakScaffold( navController = navController, startRoute = startRoute, bottomBar = { BottomBar(navController) } ) { DestinationsNavHost( engine = engine, navController = navController, navGraph = NavGraphs.root, modifier = Modifier.padding(it), startRoute = startRoute ) } } }
다음에 비슷한 구현을 하게 되더라도 이런 정도의 코드 작업을 선행해 두면 bottom navigation의 구현은 어렵지 않게 구현이 될 것으로 생각이 됩니다.
다음에 수정된 내용이 있으면 수정하도록 하겠습니다.


![[엉클컴퍼니] 우리밀 찐빵/흑미찐빵/단호박찐빵/고구마찐빵 국산팥, 우리밀 고구마찐빵(20개입) 1300g 국산팥 우리밀](https://static.coupangcdn.com/image/affiliate/banner/345ad85c72716f54e24a8f6665da3dde@2x.jpg)


댓글
댓글 쓰기