원본출처: 티스토리 바로가기
https://ssaurel.medium.com/create-a-blur-effect-on-android-with-renderscript-aa05dae0bd7d
Create a Blur Effect on Android with RenderScript
In image processing, a Blur Effect, also known as Gaussian Blur, is the result of blurring an image by applying a Gaussian function. The…
ssaurel.medium.com
먼저 출처를 밝혀본다... 앱안에 이미지를 넣을껀데... 이미지을 흐릿하게 만들고 싶을 경우가 있을 것 같다. 이걸 구현하는 예제를 찾았다. 그래서 잠시 옮겨 볼까 한다. 먼저 글쓴이분에게 심심한 감사를 표하며... 따라하기를 해 보겠다.
gradle 파일에 추가하기...
plugins { id 'com.android.application' id 'com.google.gms.google-services' id 'com.google.firebase.crashlytics' } android { ... compileSdkVersion 32 defaultConfig { applicationId "com.nari.notify2kakao" minSdkVersion 26 targetSdkVersion 32 versionCode 21 versionName '1.2.4' testInstrumentationRunner "androidx.test.runner.AndroidJUnitRunner" renderscriptTargetApi 18 renderscriptSupportModeEnabled true } .... } dependencies { ... }renderscript 을 이용하는 것이라고 하는데... 2줄 추가 했다.
renderscriptTargetApi 18 renderscriptSupportModeEnabled true
다음은 blur 처리하는 class 을 하나 만들어 보겠다.
import android.content.Context; import android.graphics.Bitmap; import androidx.renderscript.Allocation; import androidx.renderscript.Element; import androidx.renderscript.RenderScript; import androidx.renderscript.ScriptIntrinsicBlur; public class BlurBuilder { private static final float BITMAP_SCALE = 0.6f; private static final float BLUR_RADIUS = 15f; public static Bitmap blur(Context context, Bitmap image) { int width = Math.round(image.getWidth() * BITMAP_SCALE); int height = Math.round(image.getHeight() * BITMAP_SCALE); Bitmap inputBitmap = Bitmap.createScaledBitmap(image, width, height, false); Bitmap outputBitmap = Bitmap.createBitmap(inputBitmap); RenderScript rs = RenderScript.create(context); ScriptIntrinsicBlur intrinsicBlur = ScriptIntrinsicBlur.create(rs, Element.U8_4(rs)); Allocation tmpIn = Allocation.createFromBitmap(rs, inputBitmap); Allocation tmpOut = Allocation.createFromBitmap(rs, outputBitmap); intrinsicBlur.setRadius(BLUR_RADIUS); intrinsicBlur.setInput(tmpIn); intrinsicBlur.forEach(tmpOut); tmpOut.copyTo(outputBitmap); return outputBitmap; } }이건 뭐 그냥 복붙 이라... ㅋ
다음은 나의 activity 에 추가해 본다. layout 에는 imageview 을 하나 넣었고, activity 에서는 다음과 같이 만들어 이미지를 넣어 보았다. 참 그전에 이미지를 넣을 bitmap 파일을 하나 drawable 밑에 추가해 주어야 한다.
@Override protected void onCreate(Bundle savedInstanceState) { super.onCreate(savedInstanceState); binding = ActivityWithDrawView2Binding.inflate(getLayoutInflater()); setContentView(binding.getRoot()); ... Bitmap mango = BlurBuilder.blur(this, BitmapFactory.decodeResource(getResources(), R.drawable.mango)); ImageView imageView = findViewById(R.id.imageView2); imageView.setImageBitmap(mango); .... }우히... 이렇게만 코딩을 해 주면 다음과 같은 이미지의 변화를 볼 수 있다. 먼저 원본 이미지...

그 다음은 앱에 들어간 이미지는 어떻게 ???
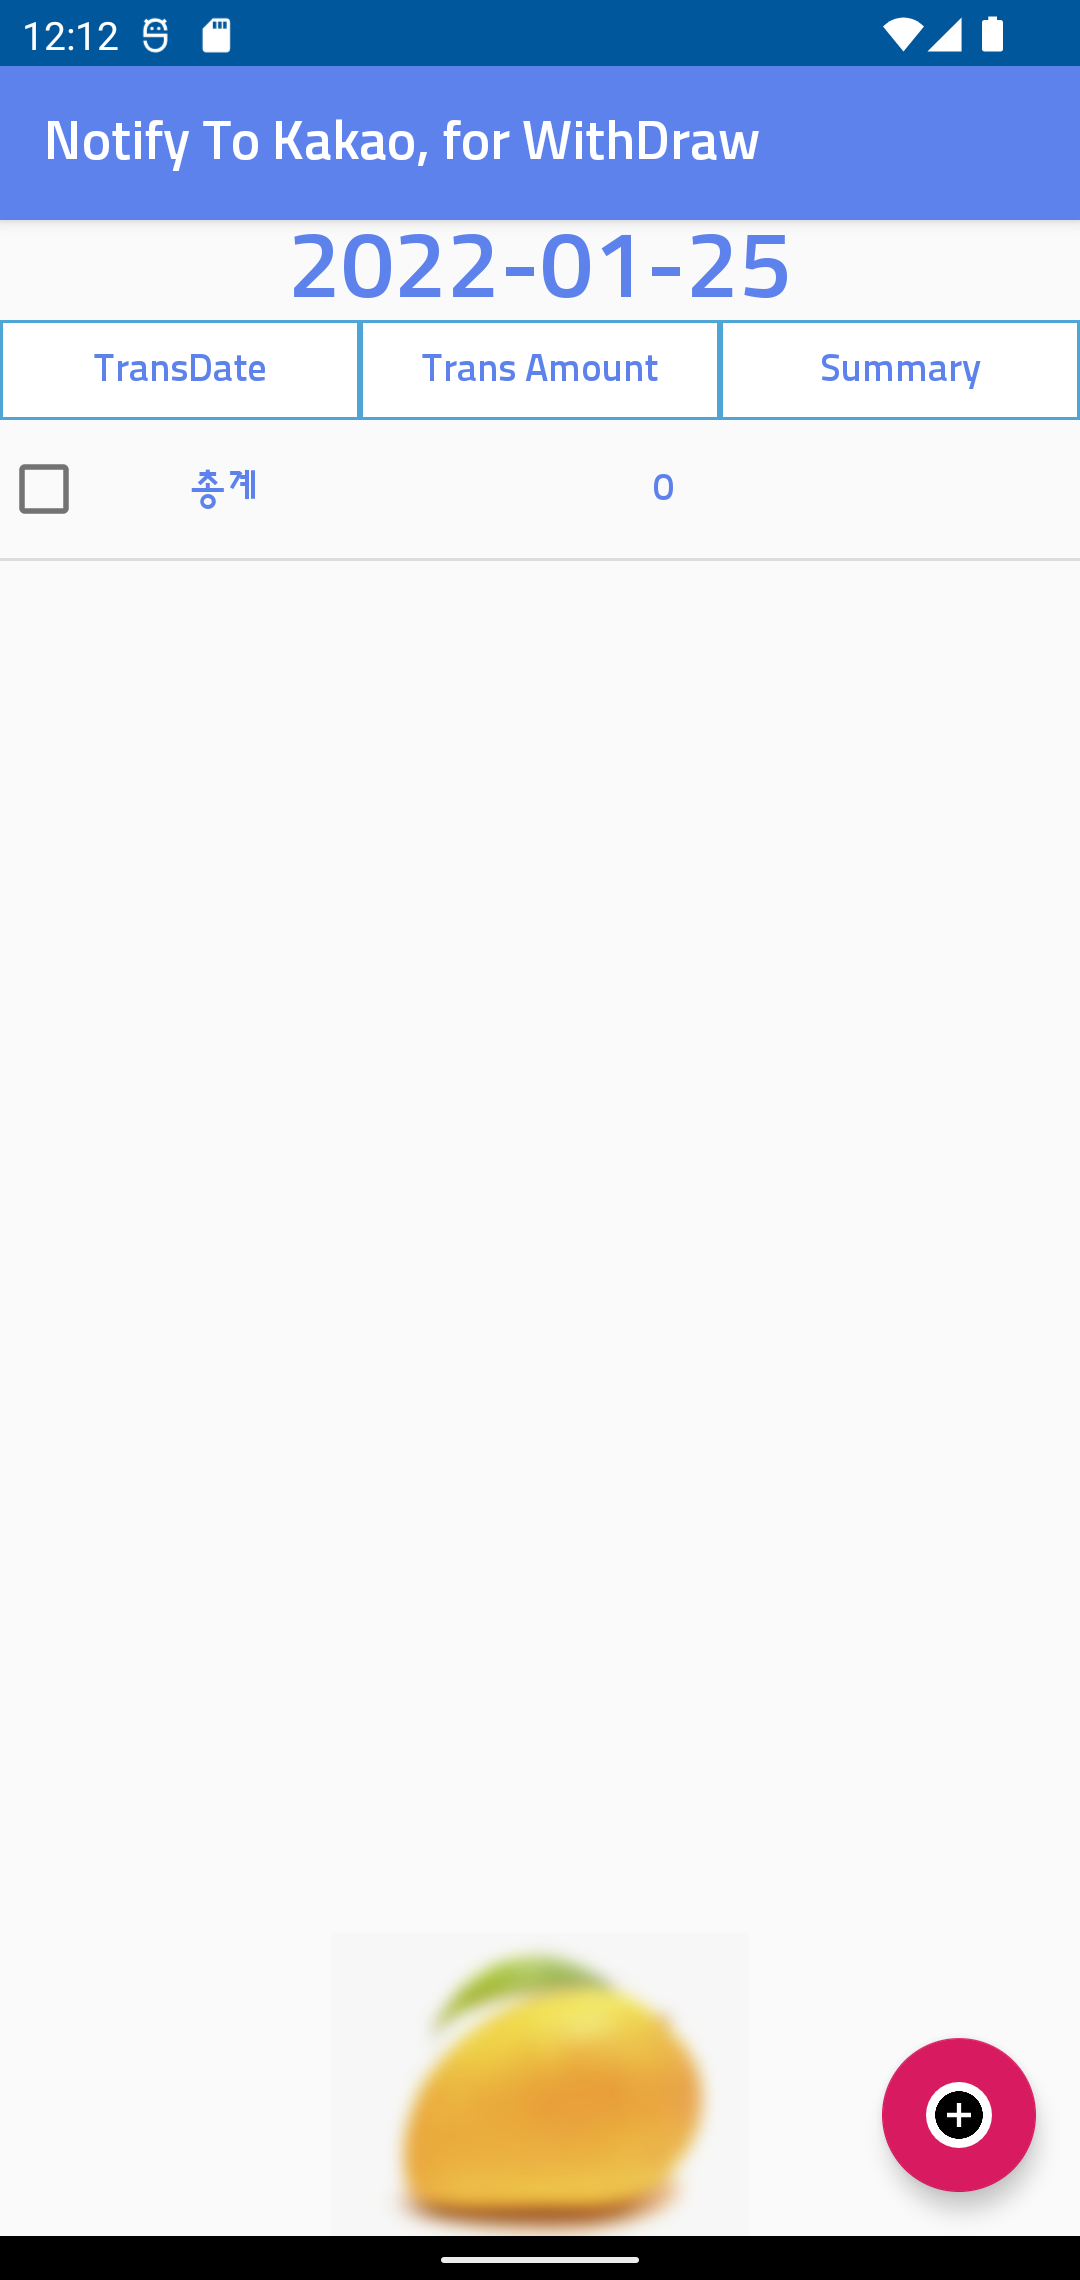
깔끔했던 망고(?)가 흐릿하게 보인다...
또 하나의 이미지 새로운 처리 방법을 알게 되어 기쁘다...
아래 링크는 위 출처의 원본 : 배워야할 것들이 있어서 일단... 링크 keep !!!
https://medium.com/sampingan-tech/implementing-glassmorphism-in-android-app-e73a2fd83b80
Implementing Glassmorphism in Android App
Glassmorphism getting more popular, but how can we implement it in a real app? Especially on the android app. Let’s talk about it.
medium.com


![[엉클컴퍼니] 우리밀 찐빵/흑미찐빵/단호박찐빵/고구마찐빵 국산팥, 우리밀 고구마찐빵(20개입) 1300g 국산팥 우리밀](https://static.coupangcdn.com/image/affiliate/banner/345ad85c72716f54e24a8f6665da3dde@2x.jpg)


댓글
댓글 쓰기